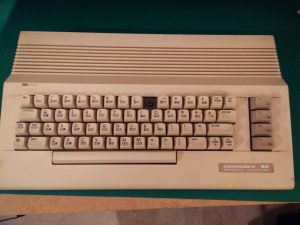
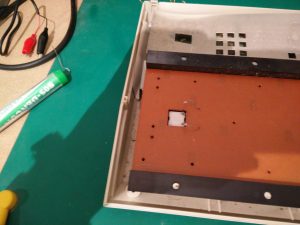
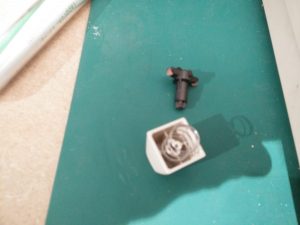
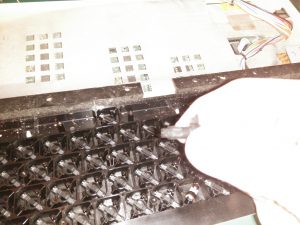
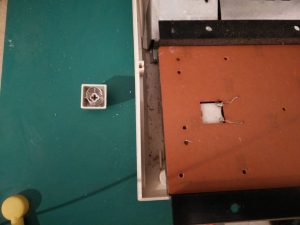
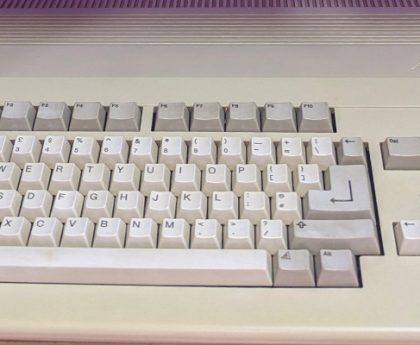
Finally decided to repair the keyboard on this Commodore 64C. Thanks to Retroleum for providing the replacement number 9 key in exactly the right colour. Apologies but I have to put in the usual disclaimer. These steps worked for me so be careful and remember the risk is all yours.
Step 1
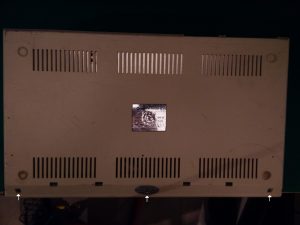
Remove the three screws on the underside of the case as pictured
Step 2
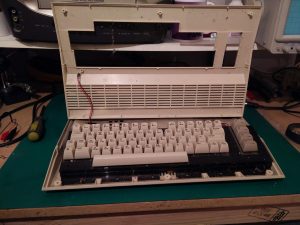
Separate the top and bottom halves of the case.
Step 3
There is some tabs at the side holding the case together. Press in the sides in whilst gently forcing the top and bottom case apart where the screws were removed.
Step 4
Once separated at the front and sides there are three clip hinges at the back which must be carefully separated.
Step 5
Remove the power led cable from the motherboard noting the red wire is on the left and black on the right.
Step 6
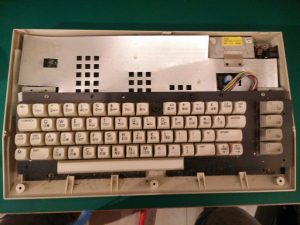
Remove the two screws on top of the black keyboard housing and slide the keyboard forward away from the retaining clips at the bottom.
Step 7
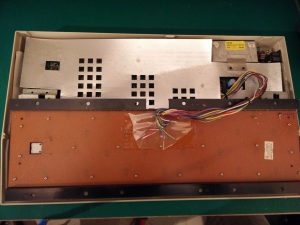
Now carefully turn the keyboard upside down being careful not to pull the cable.
This will reveal many little screws and the shift lock soldered switch on the left side.
Step 8
Remove all the little screws holding the back of the keyboard. Using a soldering iron, remove the the connections on the shift lock key.
Step 9
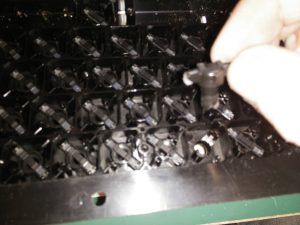
Remove the keyboard backing to reveal all the key contacts. Its a good idea to give this a clean with contact cleaner and something like and old toothbrush.
Remove whats left of the broken key contact.
Step 10
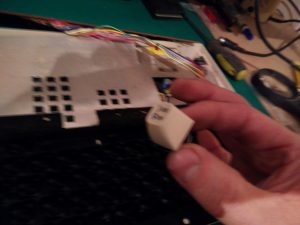
Now were ready to install our replacement key.
You will need to separate the key from the black contact peg by just prying it off with your finger and thumb.
Step 11
Insert the contact peg into the keyboard housing.
Step 12
Its now a case of tracing back the steps to reassemble.
Resolder the shift lock contacts and screw back the keyboard backing.
Before complete re-assembly its a good idea to check all the keys work.
Step 13
Once happy all keys are working just re-assemble in reverse order.

