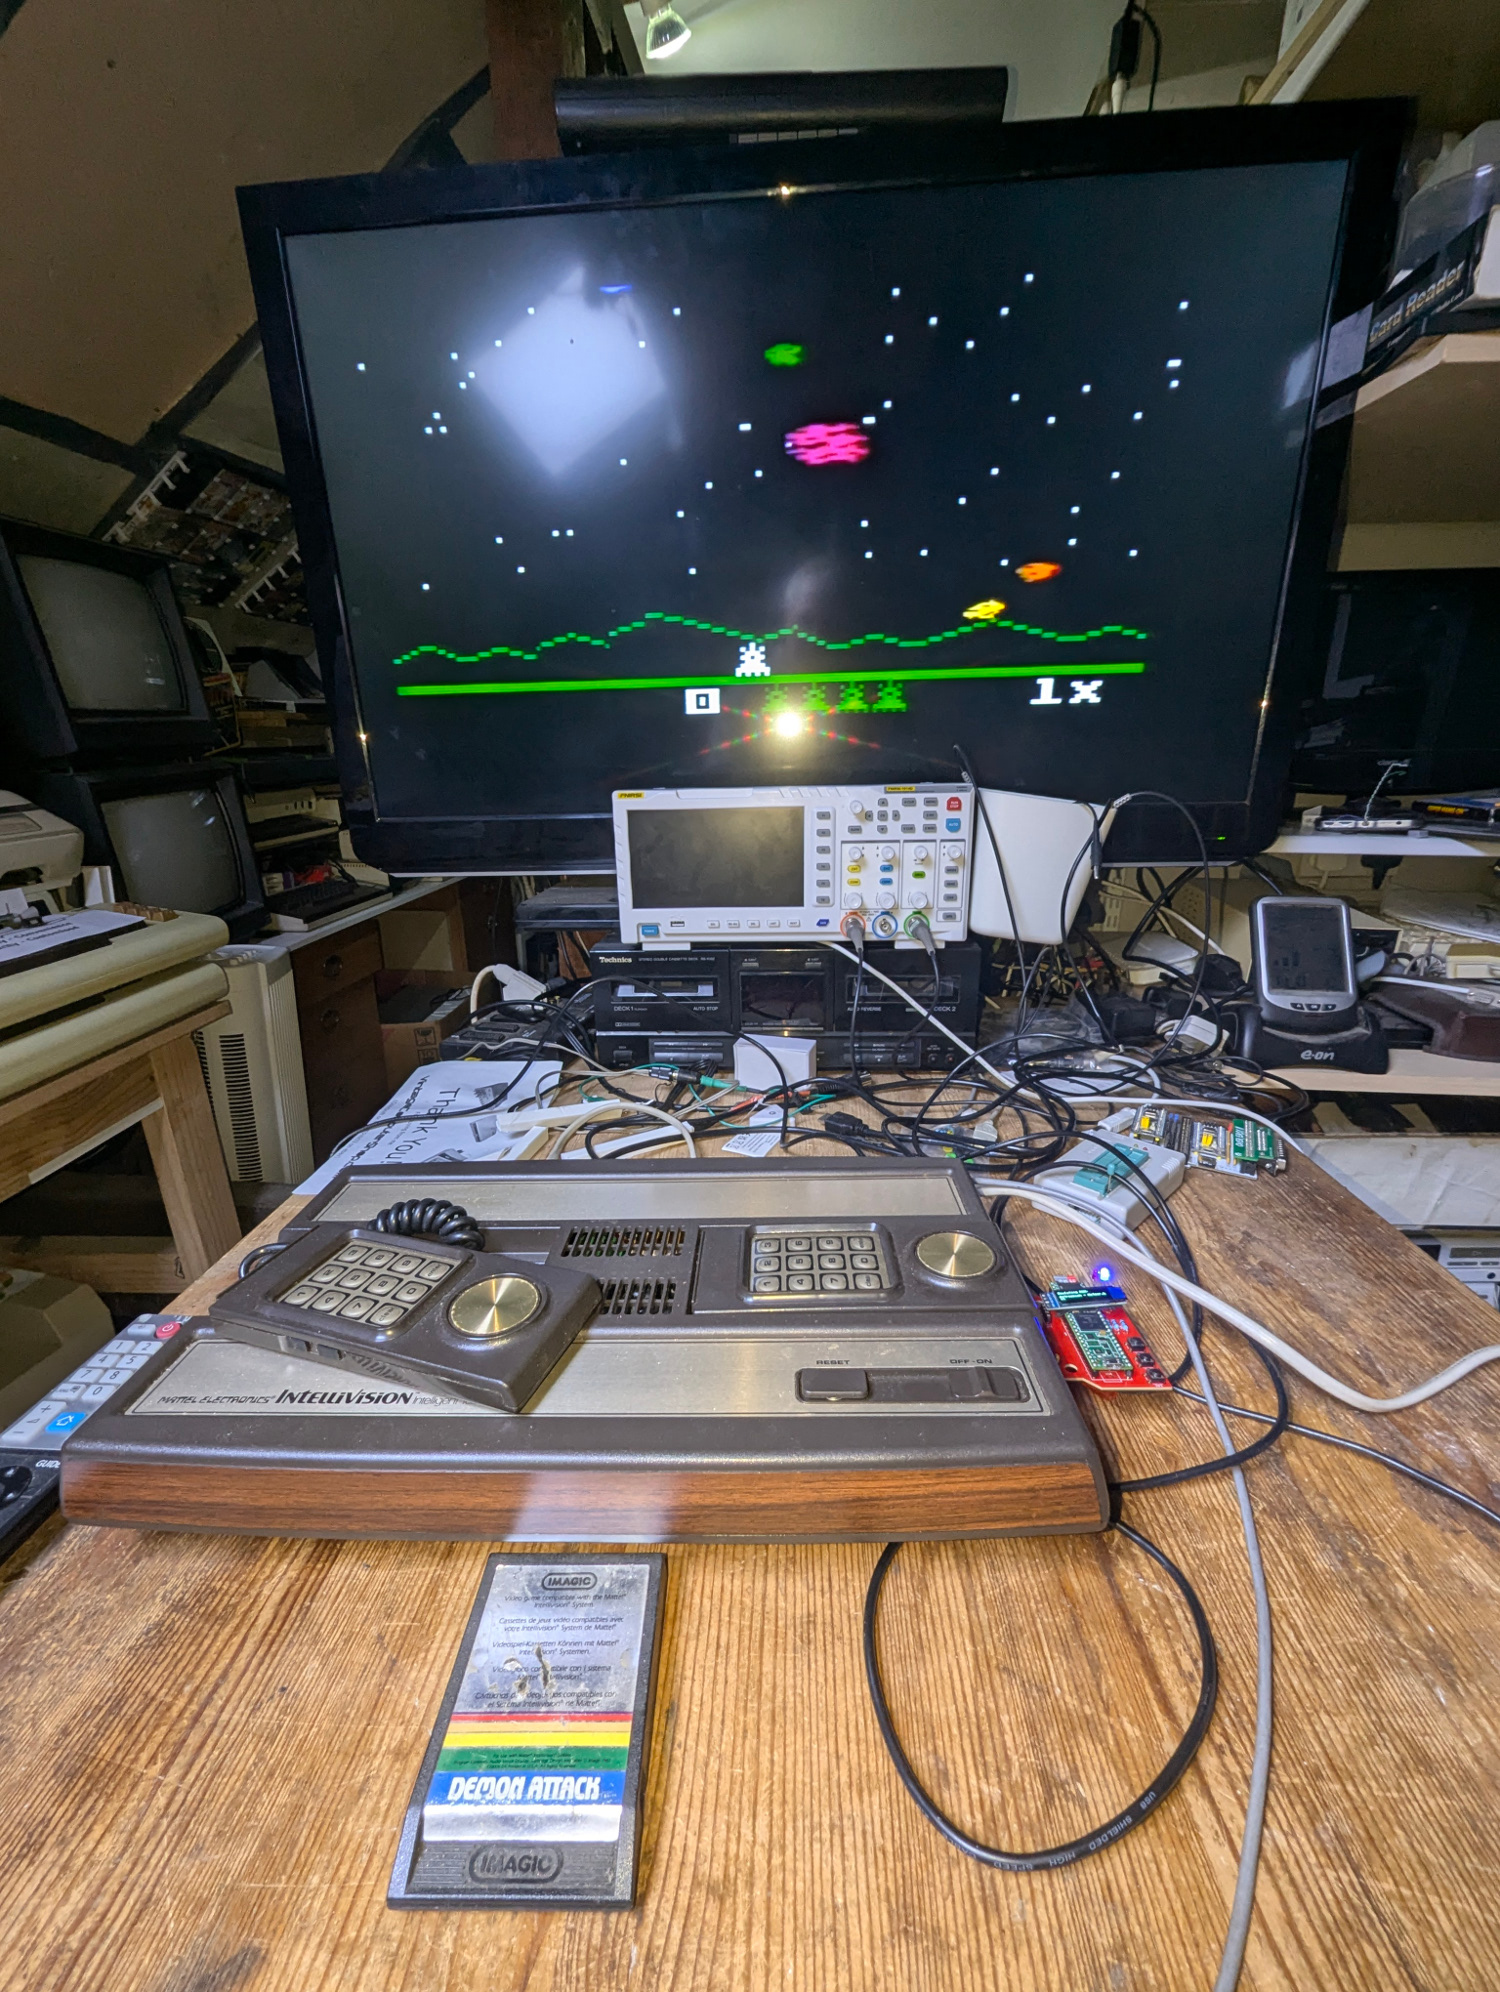
I’ve had this intellivision console lying around for some time and thought I would test it out. It came with the original box and looked good condition. It came with one game, Demon Attack and after a bit of testing I was bored and wanted to try some different games. I thought I would look into multicarts and came across this project by Andrea Ottaviani on github.
https://github.com/aotta/RTO-Cart?tab=readme-ov-file
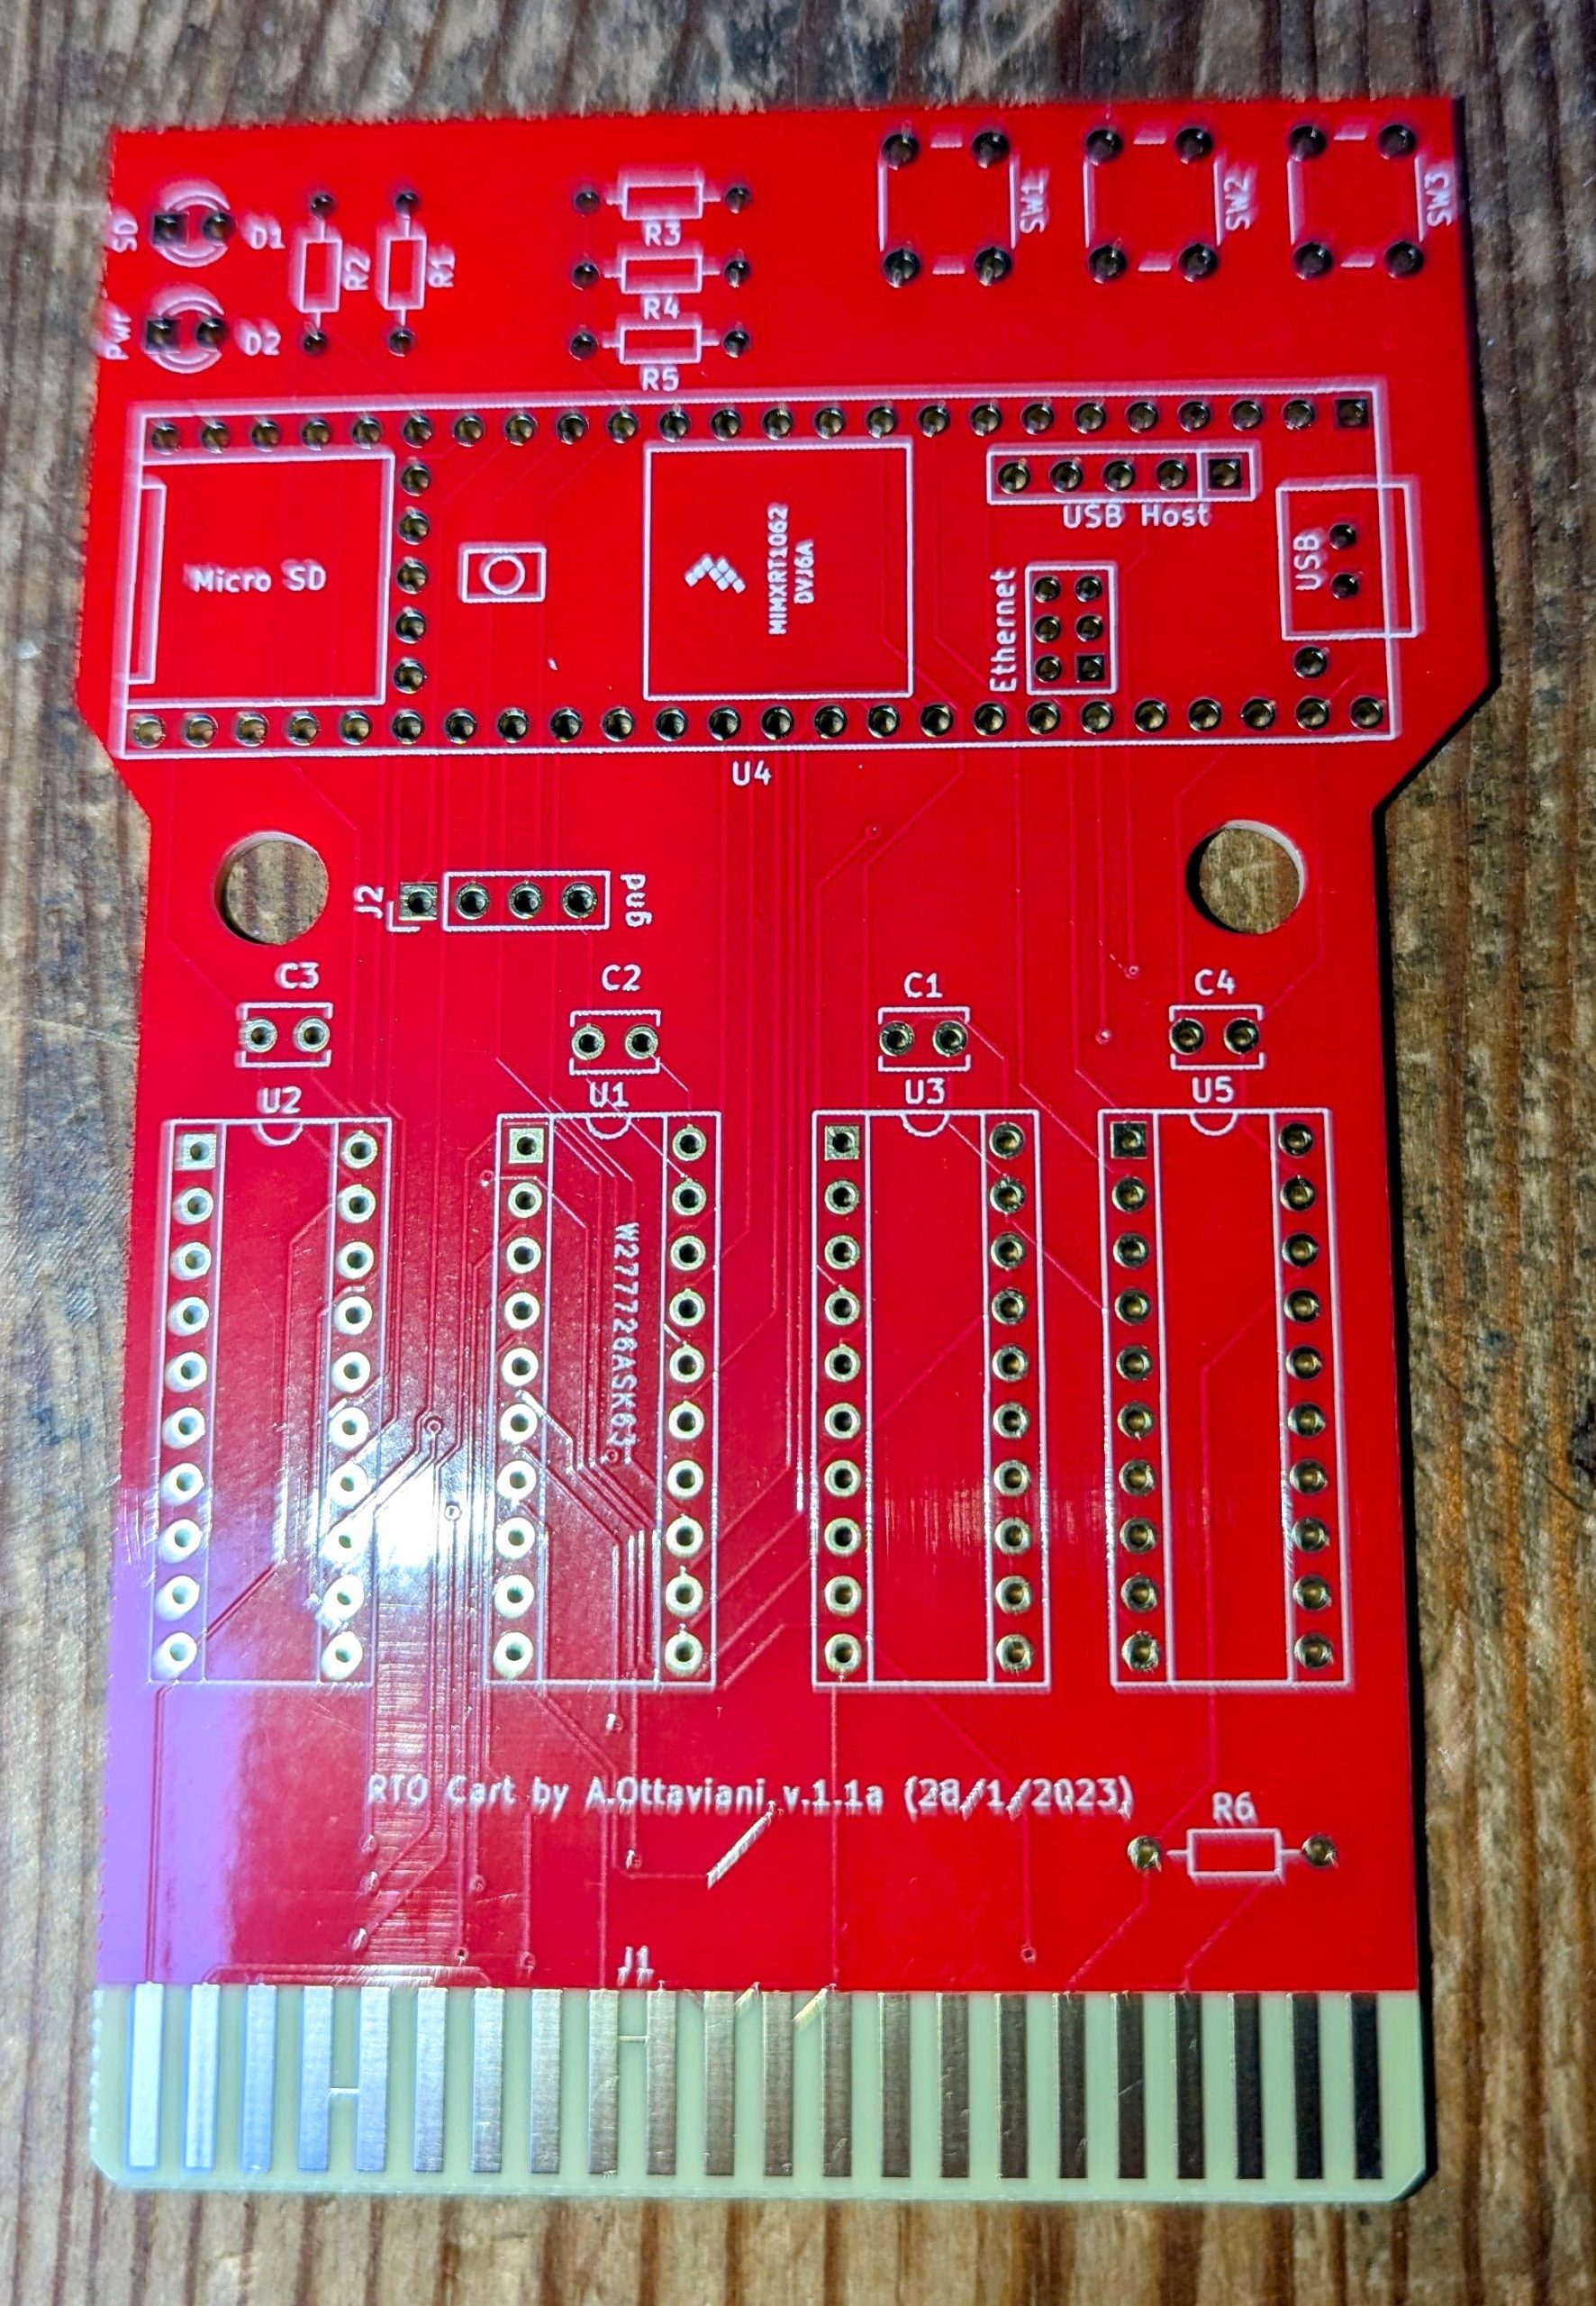
The only issue I have with this project is that it requires a pricey microcontroller. The rest of the components are farely cheap with a few 74LS245’s, capacitors, resistors, etc.
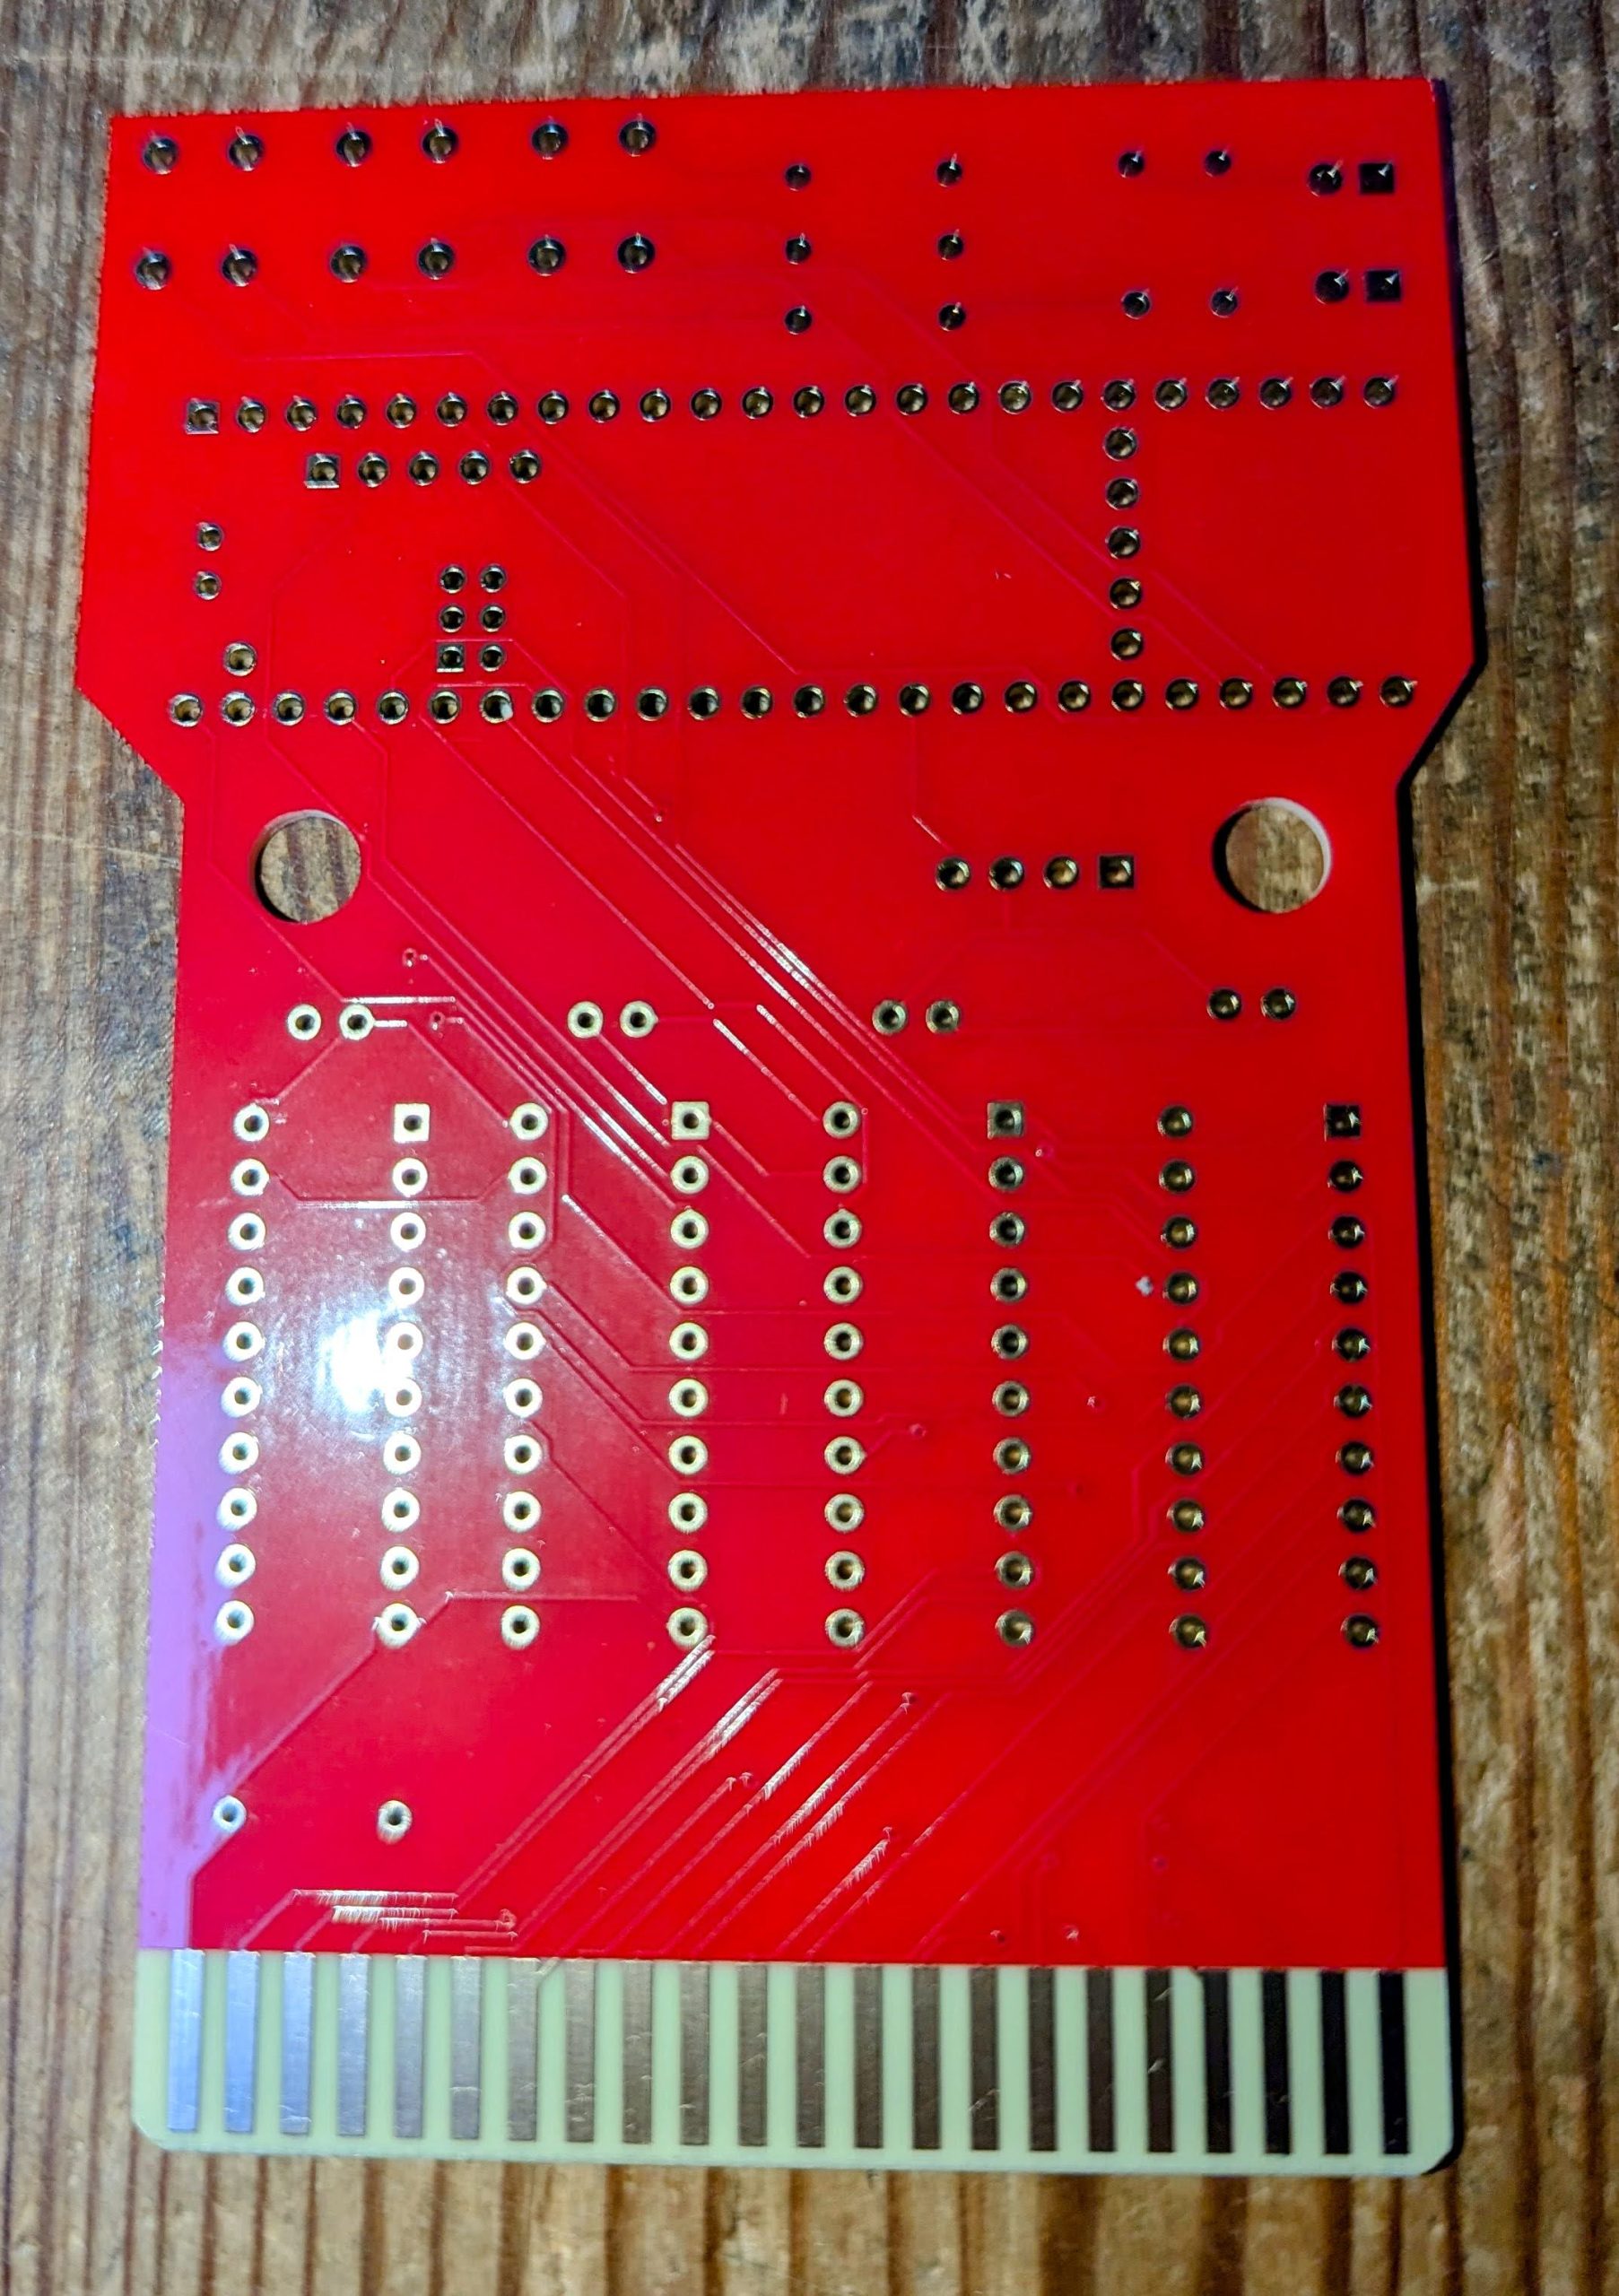
Fortunately PCBWay provide great quality PCB’s at a very reasonable price keeping the cost down on this project. The PCB’s arrived sooner than expected with my favourite red background with white silk screen. I ordered gold contacts and a bevel on the edge connector to ease inserting the cartridge and put less stress on the old delicate intellivision cartridge slot.
Ok let the build begin.
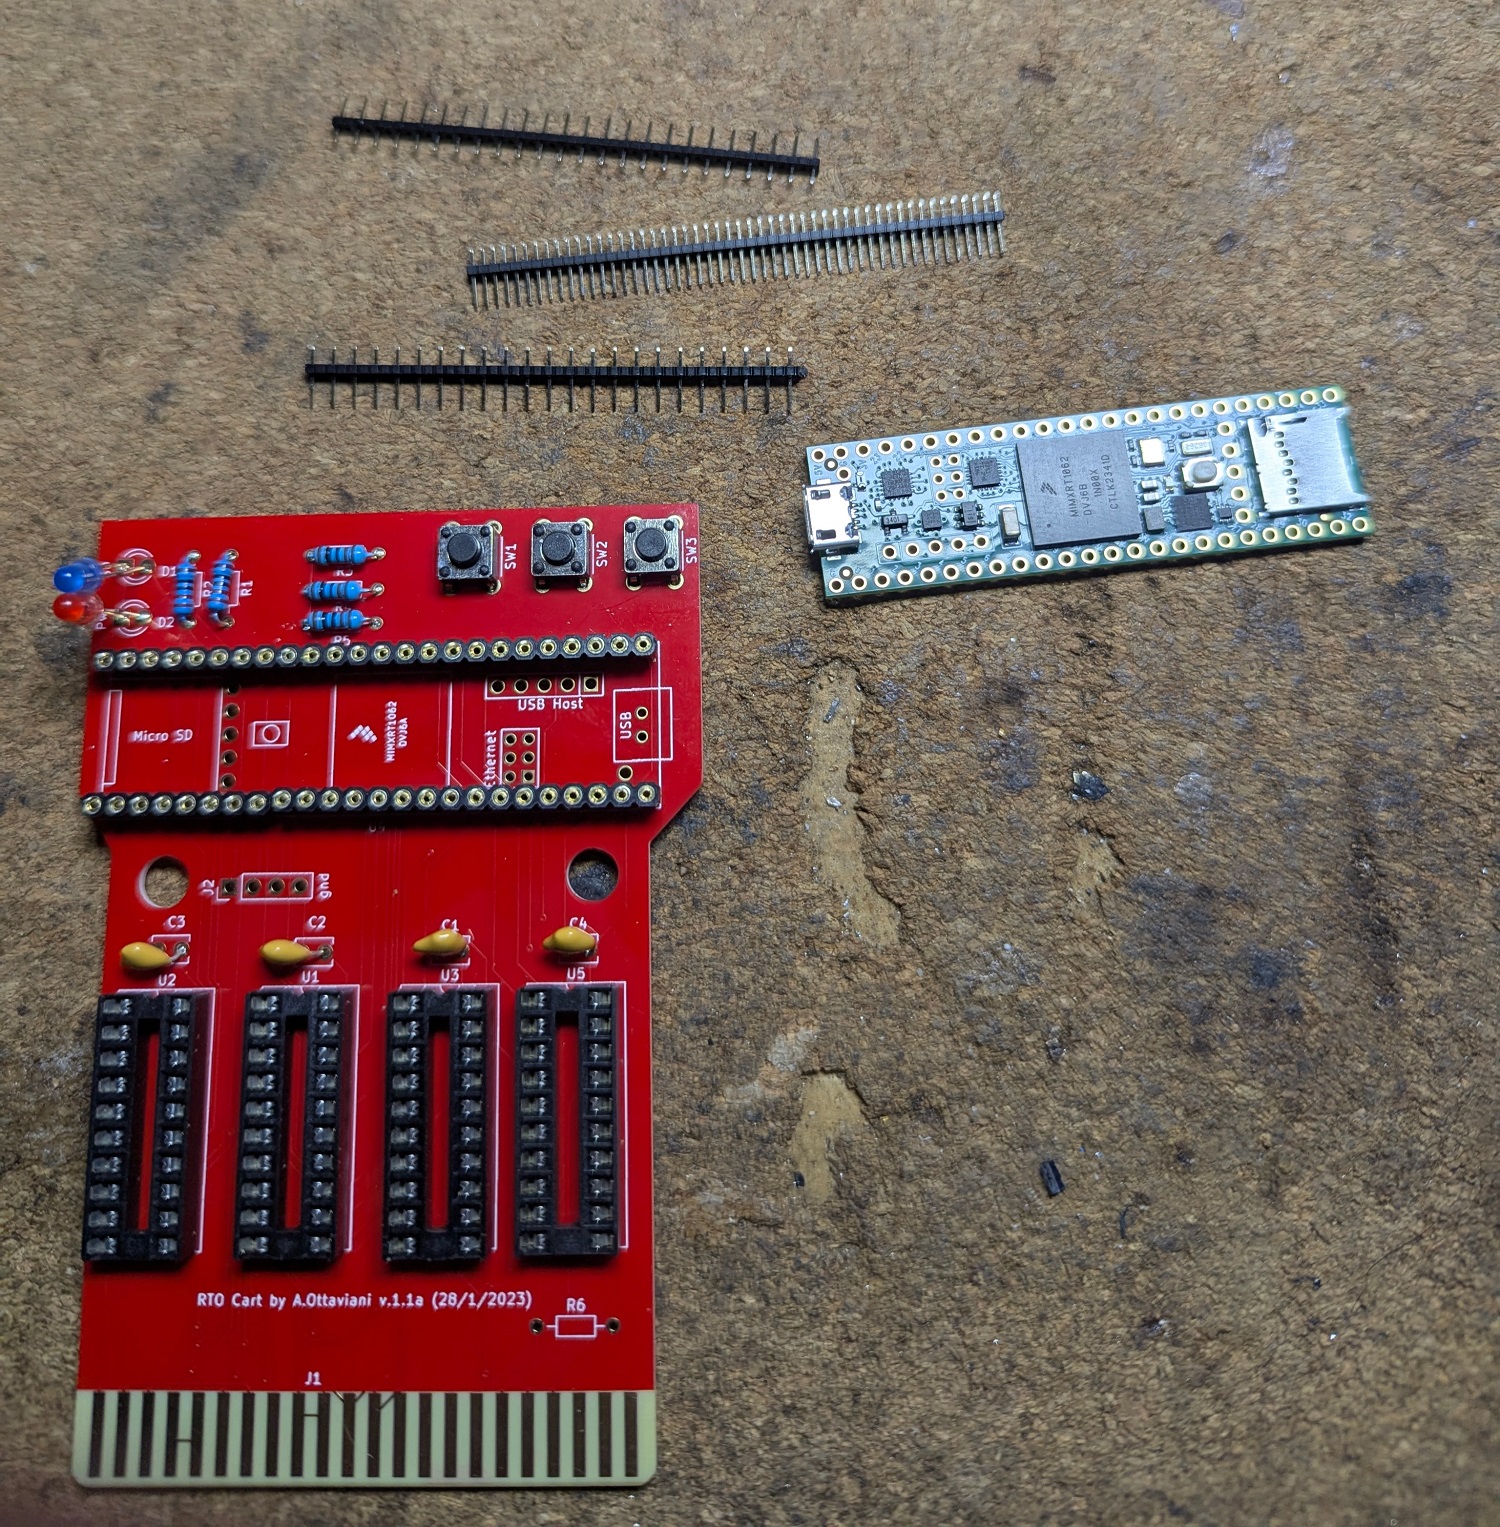
Ok the easy bits are done with sockets and simple components installed. The tricky bit was finding appropriate pins for the microprocessor socket as I may need to remove it later to solder in the ethernet connections. I found some 0.4mm pins from my Oric repair which fit perfectly and so soldered them into the microprocessor and the OLED display.
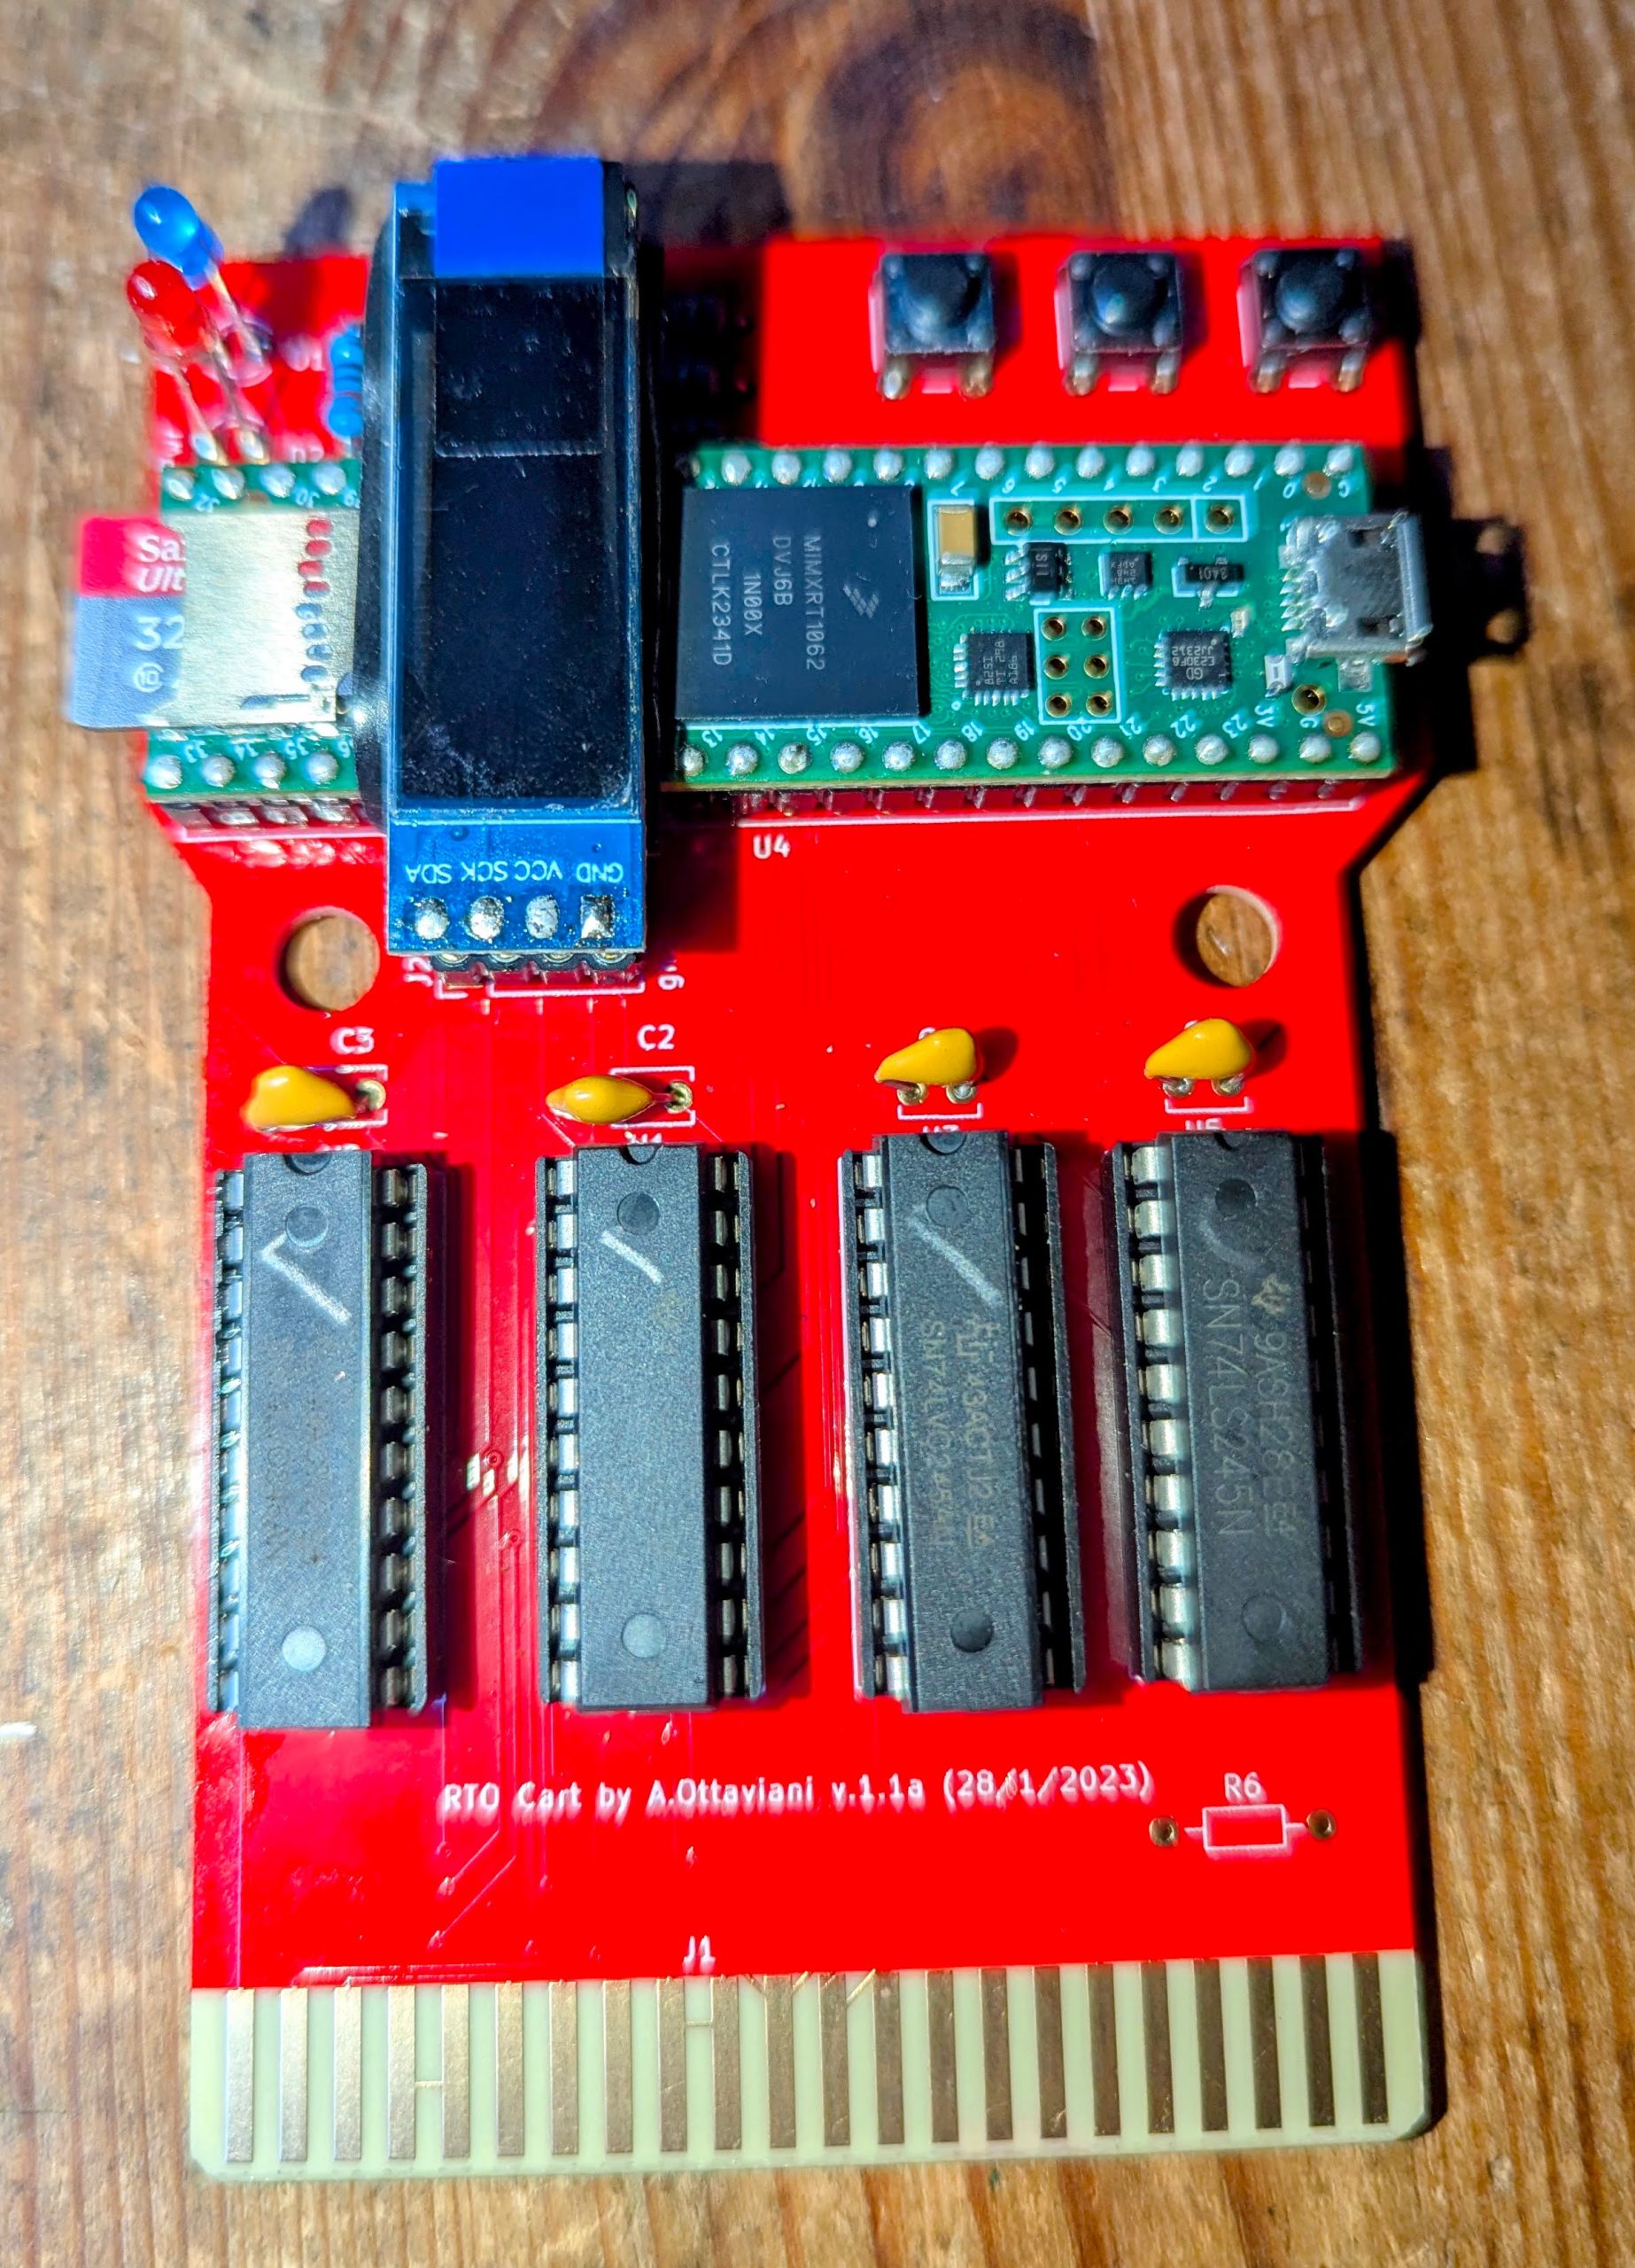
Every thing populated on the board its time to plug in a USB.
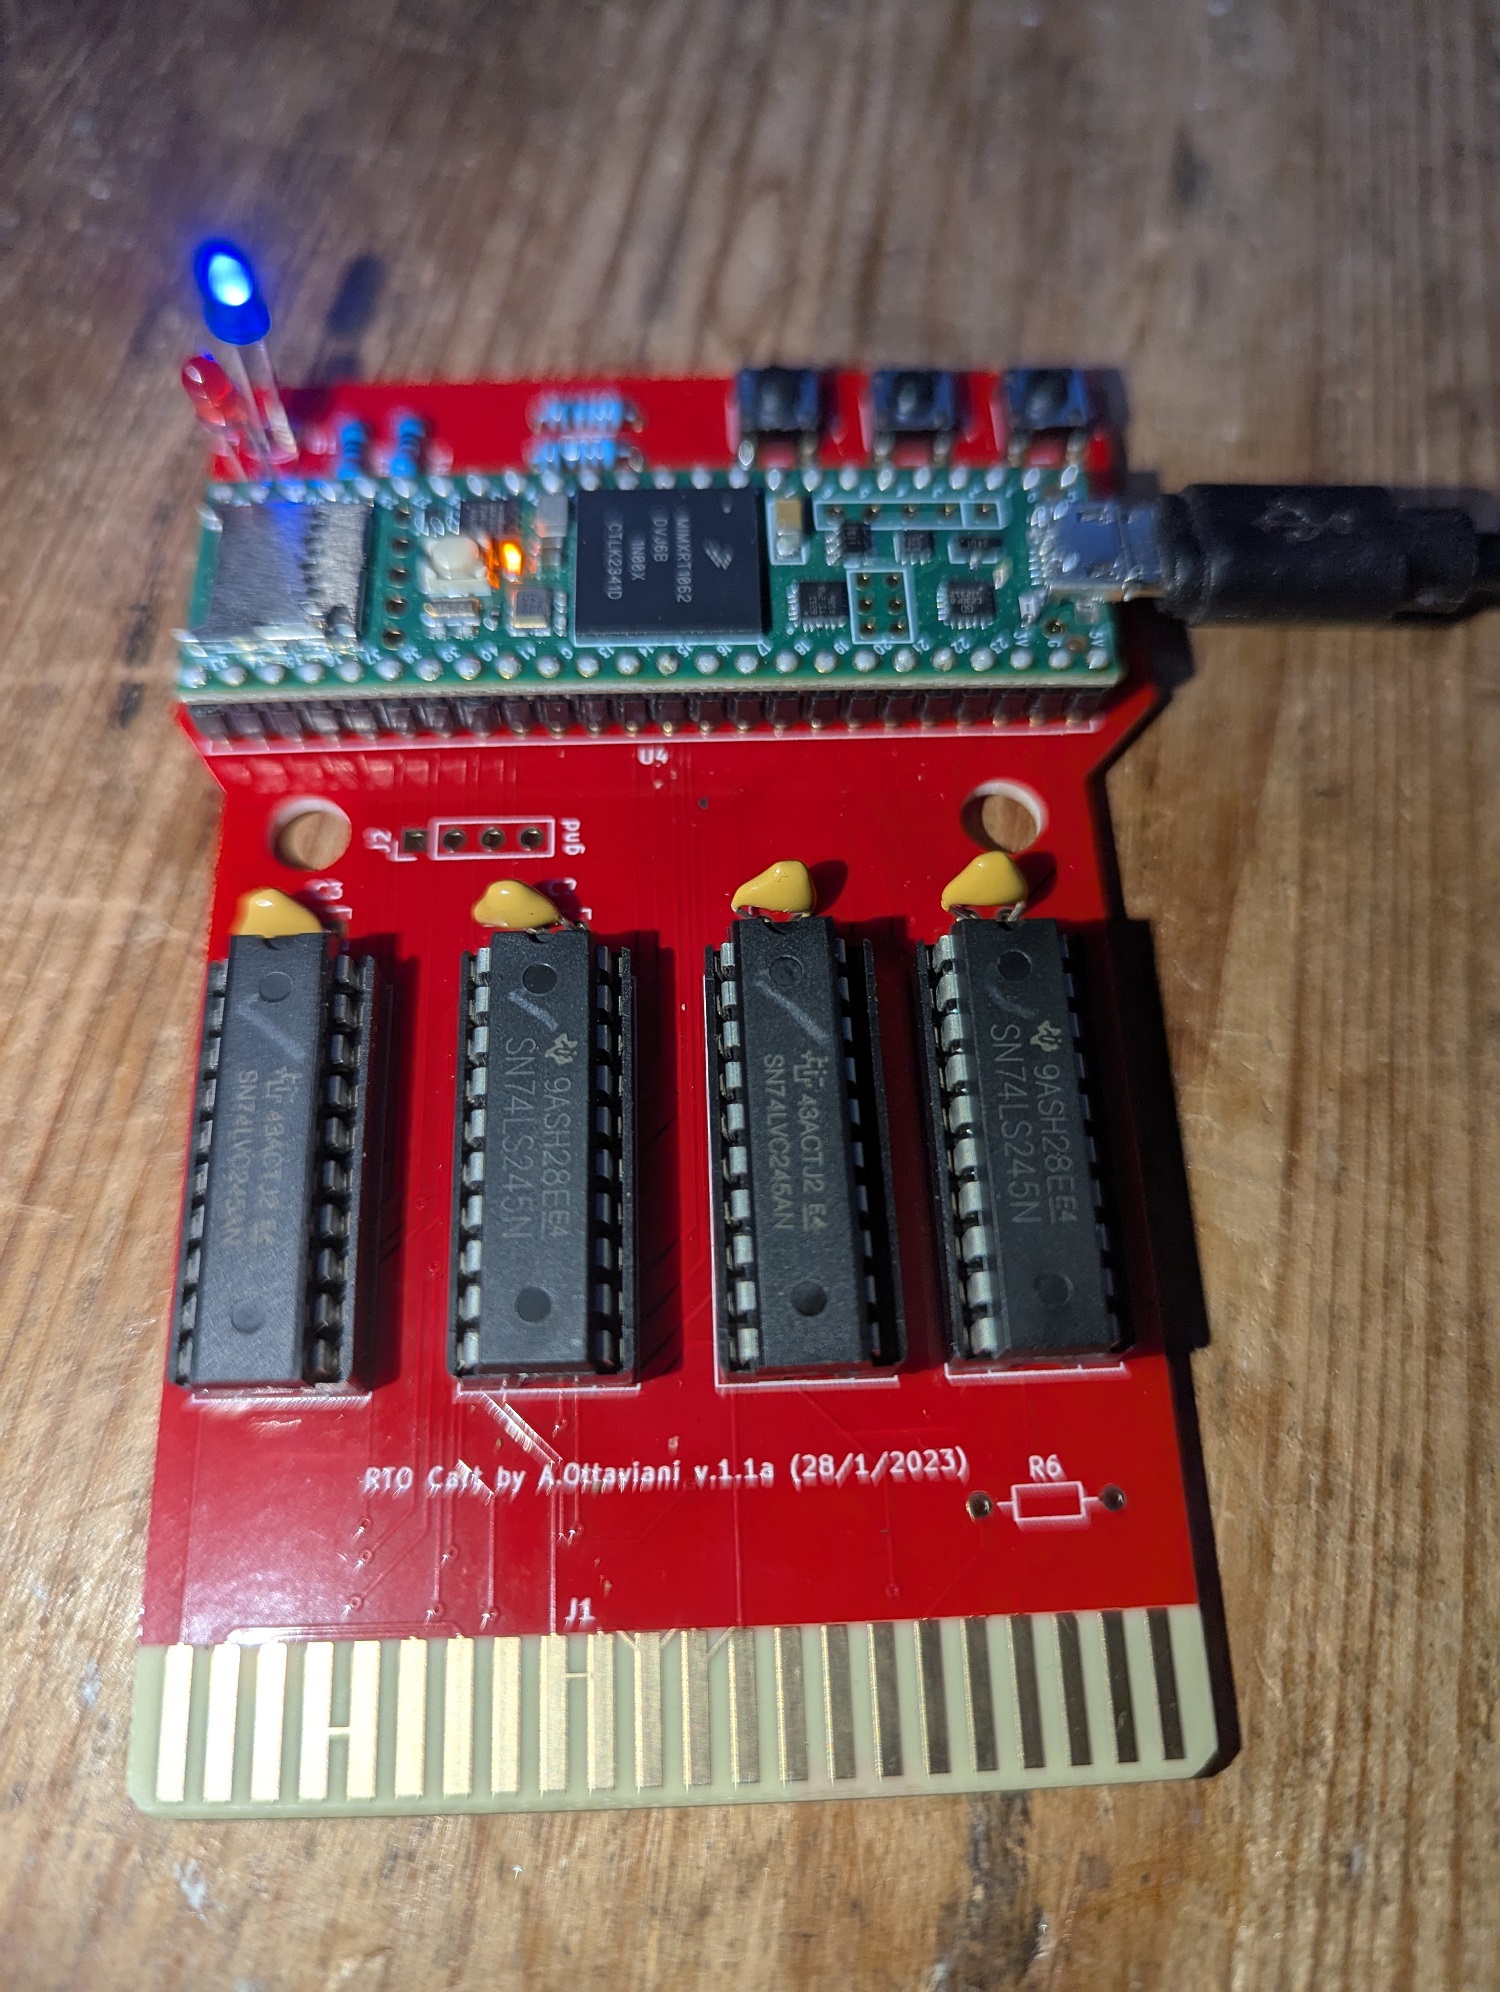
We are getting a nice pulsing red light from the microprocessor and a solid led on the PCB. This is actually normal. The R6 resistor bottom right isn’t actually needed. The only thing left is to program the microprocessor and solder in the OLED display.
The teensy micrprocessor is programmed using the arduino IDE.
Connect your computer to the cartridge using a micro usb cable.
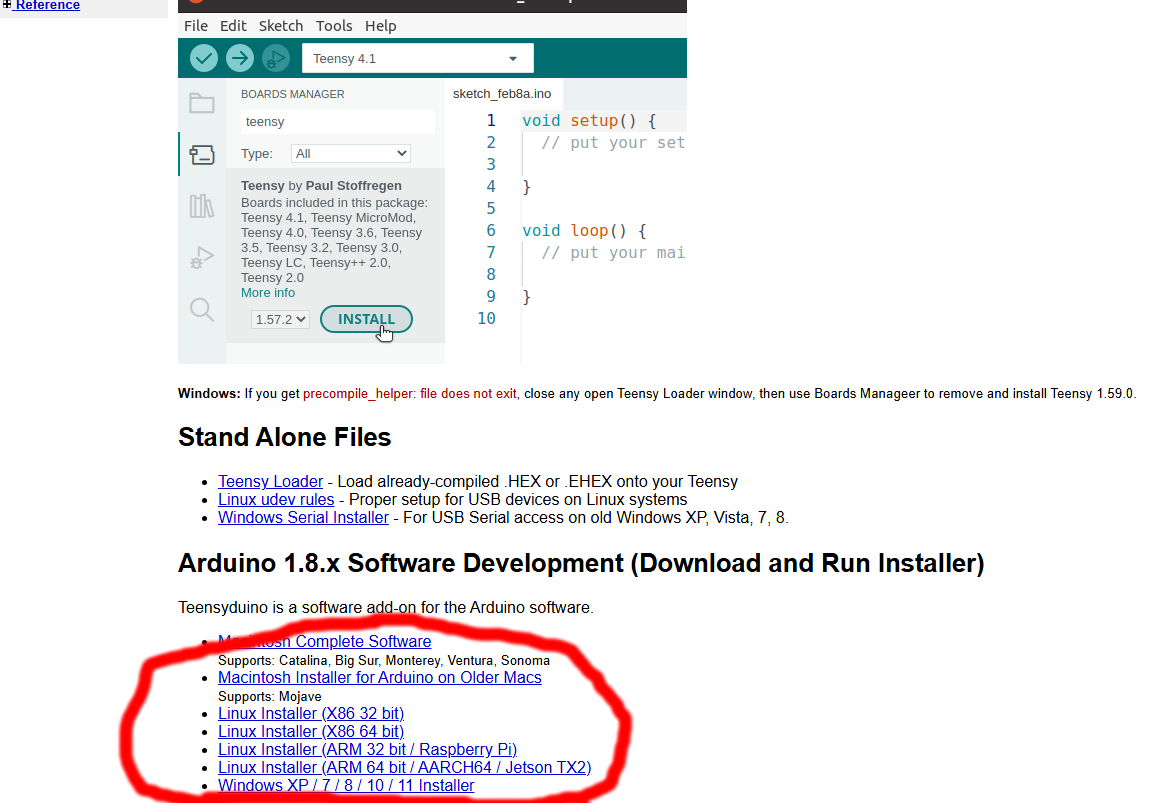
Before we can use the Arduino IDE we first have to download and install the Teensy software addon located here
Just scroll to the Arduino 1.8.x Software Development (Download and run Installer) section and select the installer for your OS.
Make sure to close down the Arduino IDE if its open before running the installer.
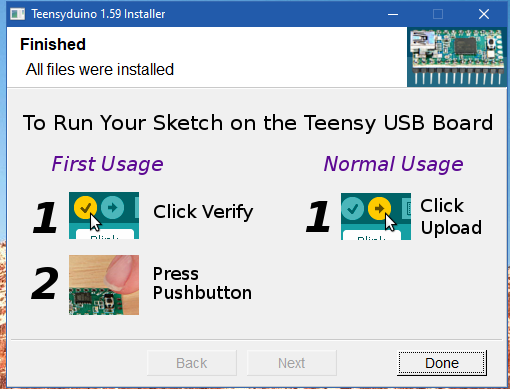
Run the installer which wil innstal a Virtiual Serial Driver. Select the loaction of your Arduino installation. On windows this is typically C:\Program Files\Arduino.
Just leave the default options and click Next and done at the end.
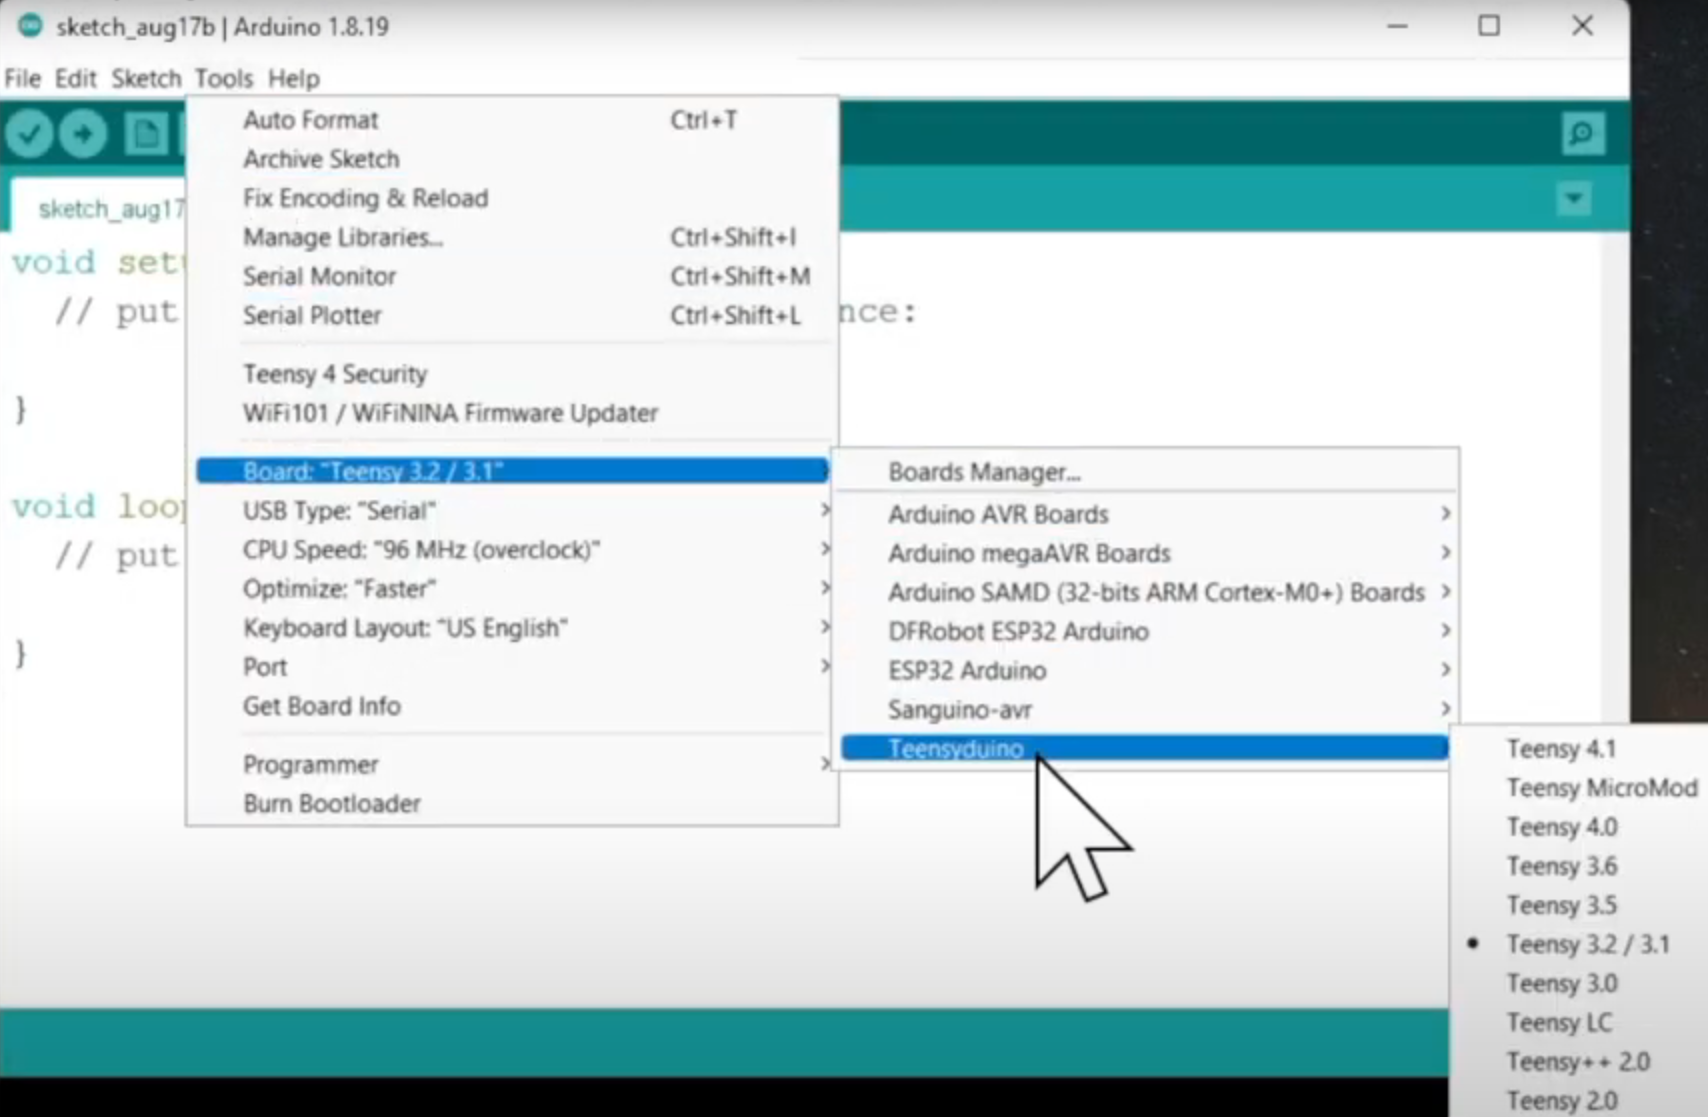
Starup the Arduino IDE. Select Tools and if all went well Board Teensy 3.1/3.1 should be available. Select it then teensyduino next Teensy 4.1 as shown below.
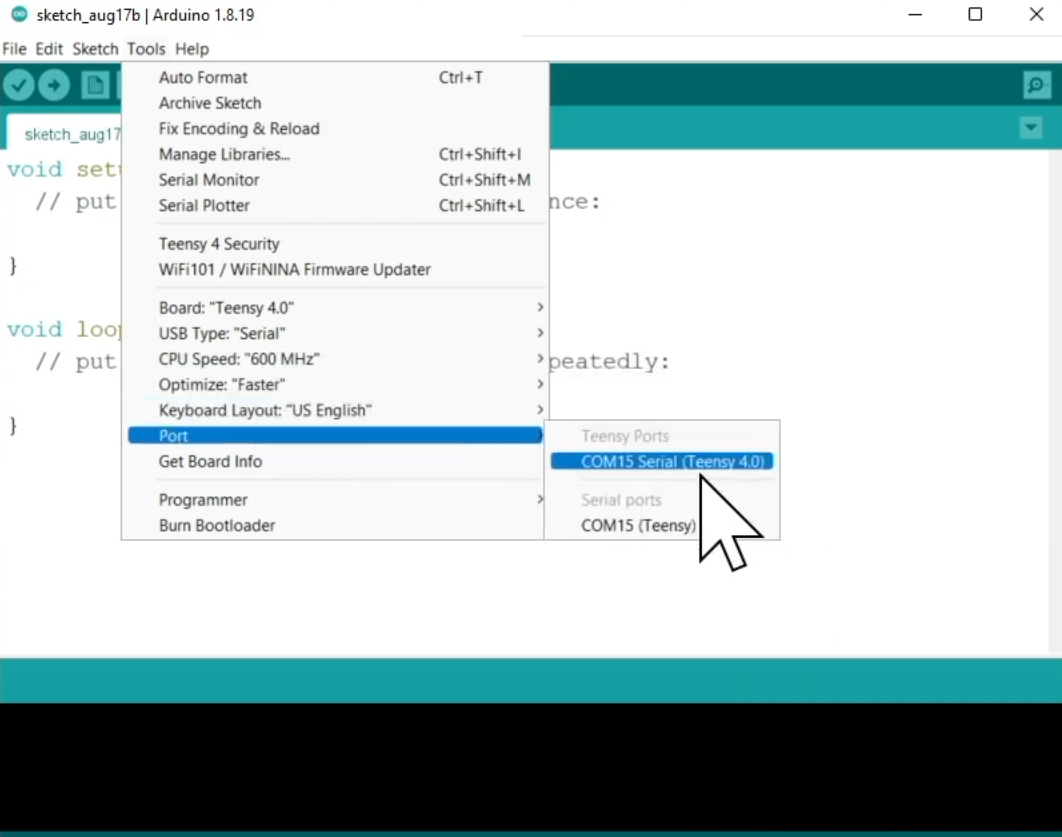
Next select Tools -> Port. You should see your teensy 4.1 Com port is availble so select it.
All going well and you should the available ram shown in the bottom windows like so.
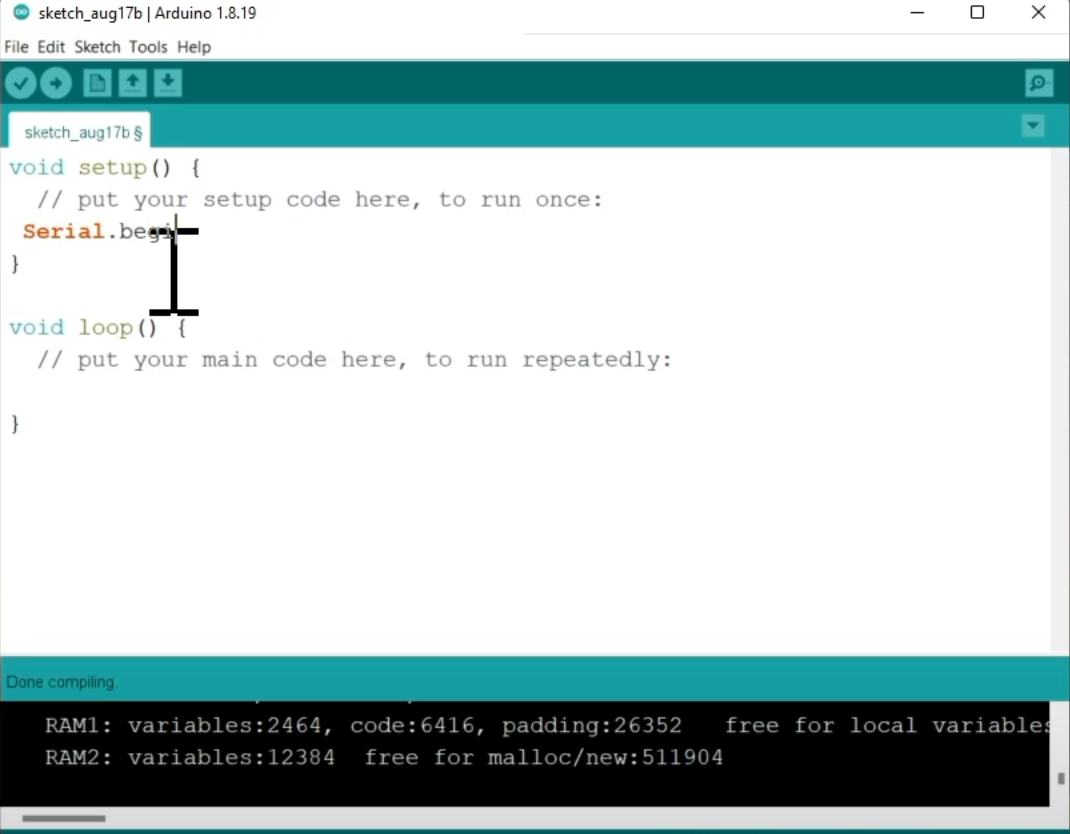
The number of ram variables may differ but so long as something is displayed here thats the main thing.
Our Arduino IDE is almost setup but we need a couple of libraries before compiling and uploading the RTO Cart software.
Close the Arduino IDE and find the RTOCart1.1.ino file located within the Github repo provided by Aotta at the top of this post. You will need to be located in the RTOCart1.1 folder and double click or open the RTOCart1.1.ino file within. You should see the following.
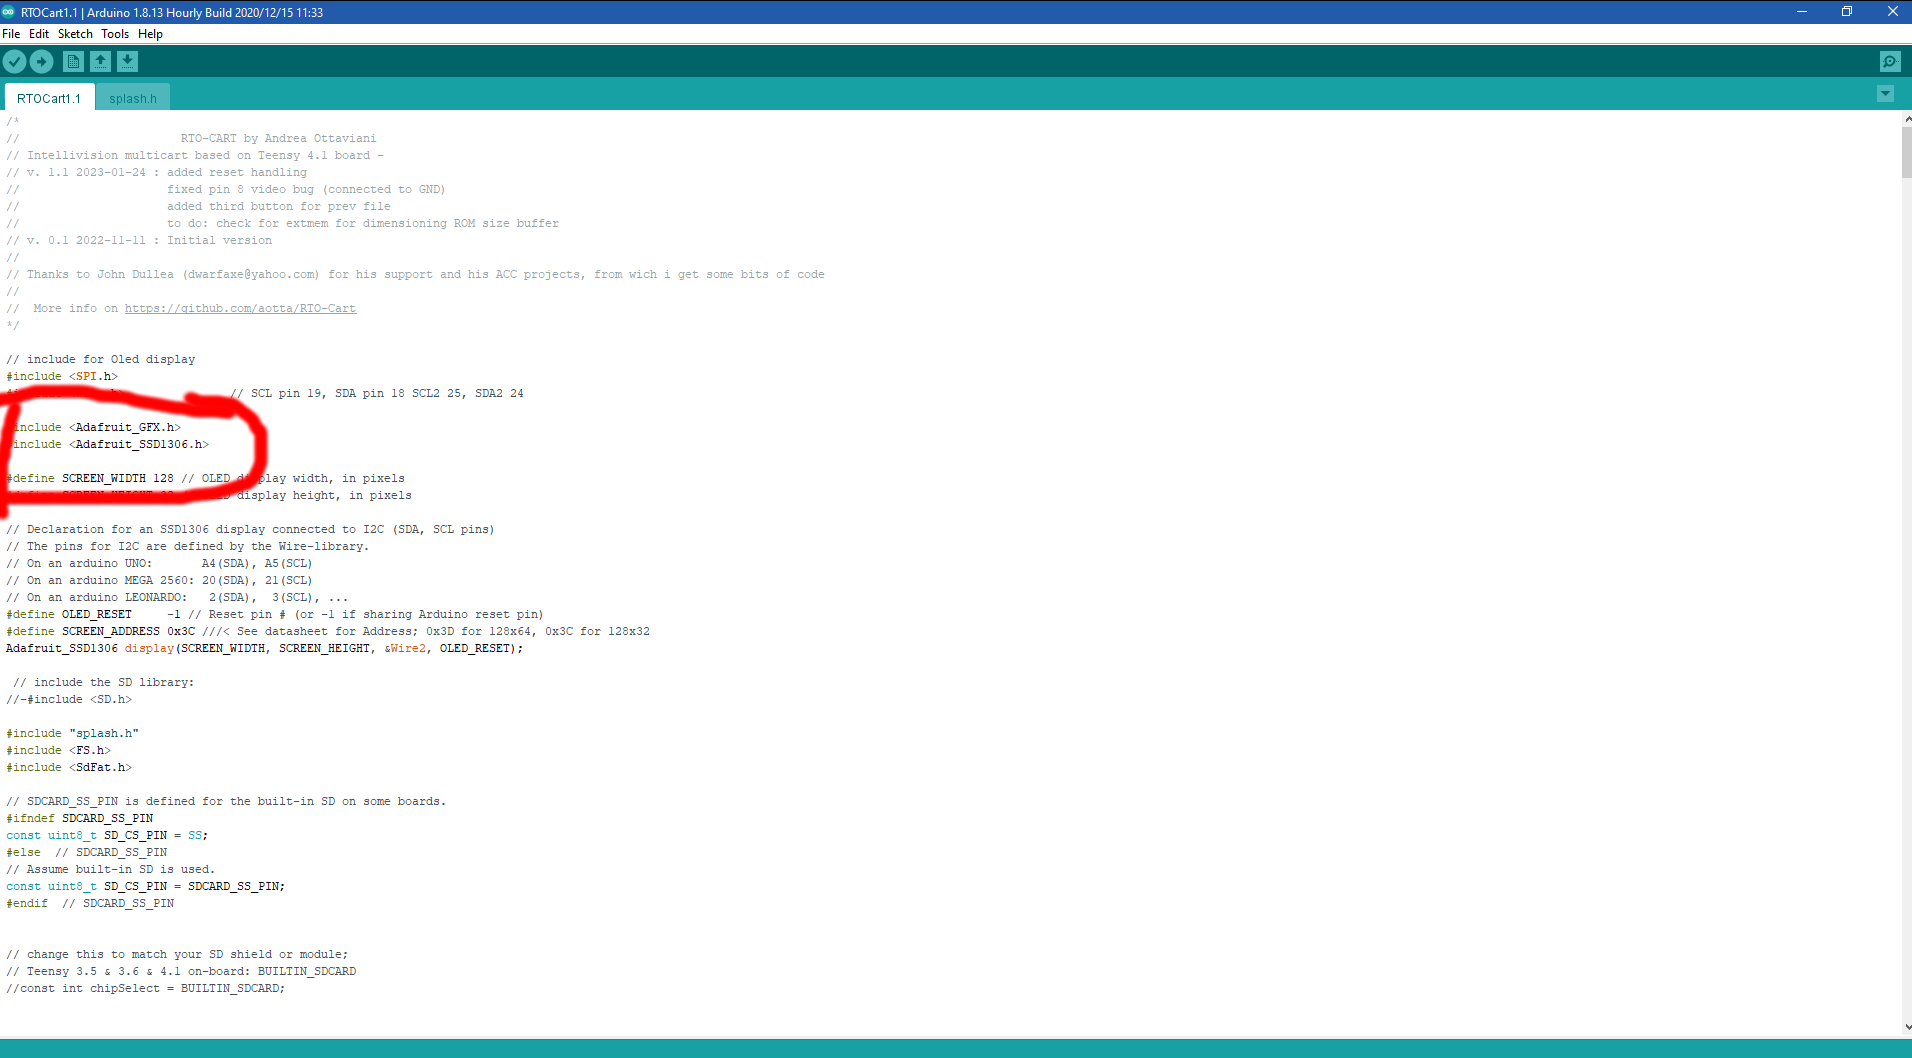
We need to ensure we have the two libraries marked. Adafruit_GFX and Adafruit_SSD1306. Goto Tools and select Manager Libraries and in the Search box at the top enter Adafruit_GFX. This should showthe Adafruit GFX Library. If not installed then click install.
Do the same for Adafruit_SSD1306 and if not installed then click install.
You can now click compile and upload to the cartridge.
The SD card will need to have a 0.cfg file containing the following. Best to use Notepad++ to create and save the following
[mapping]
$0000 – $1FFF = $5000 ; 8K to $5000 – $6FFF
$2000 – $2FFF = $D000 ; 4K to $D000 – $DFFF
$3000 – $3FFF = $F000 ; 4K to $F000 – $FFFF
Then you can put some .bin cartridge files on the card. Most games will work with the above mapping but some may need specific mapping and will have a corresponding .cfg file with the same name as the .bin file.
Some games come as .int files and these can be renamed to .bin.
The files will show up on the OLED
This is all described in the manual here
Now to play some Astrosmash!
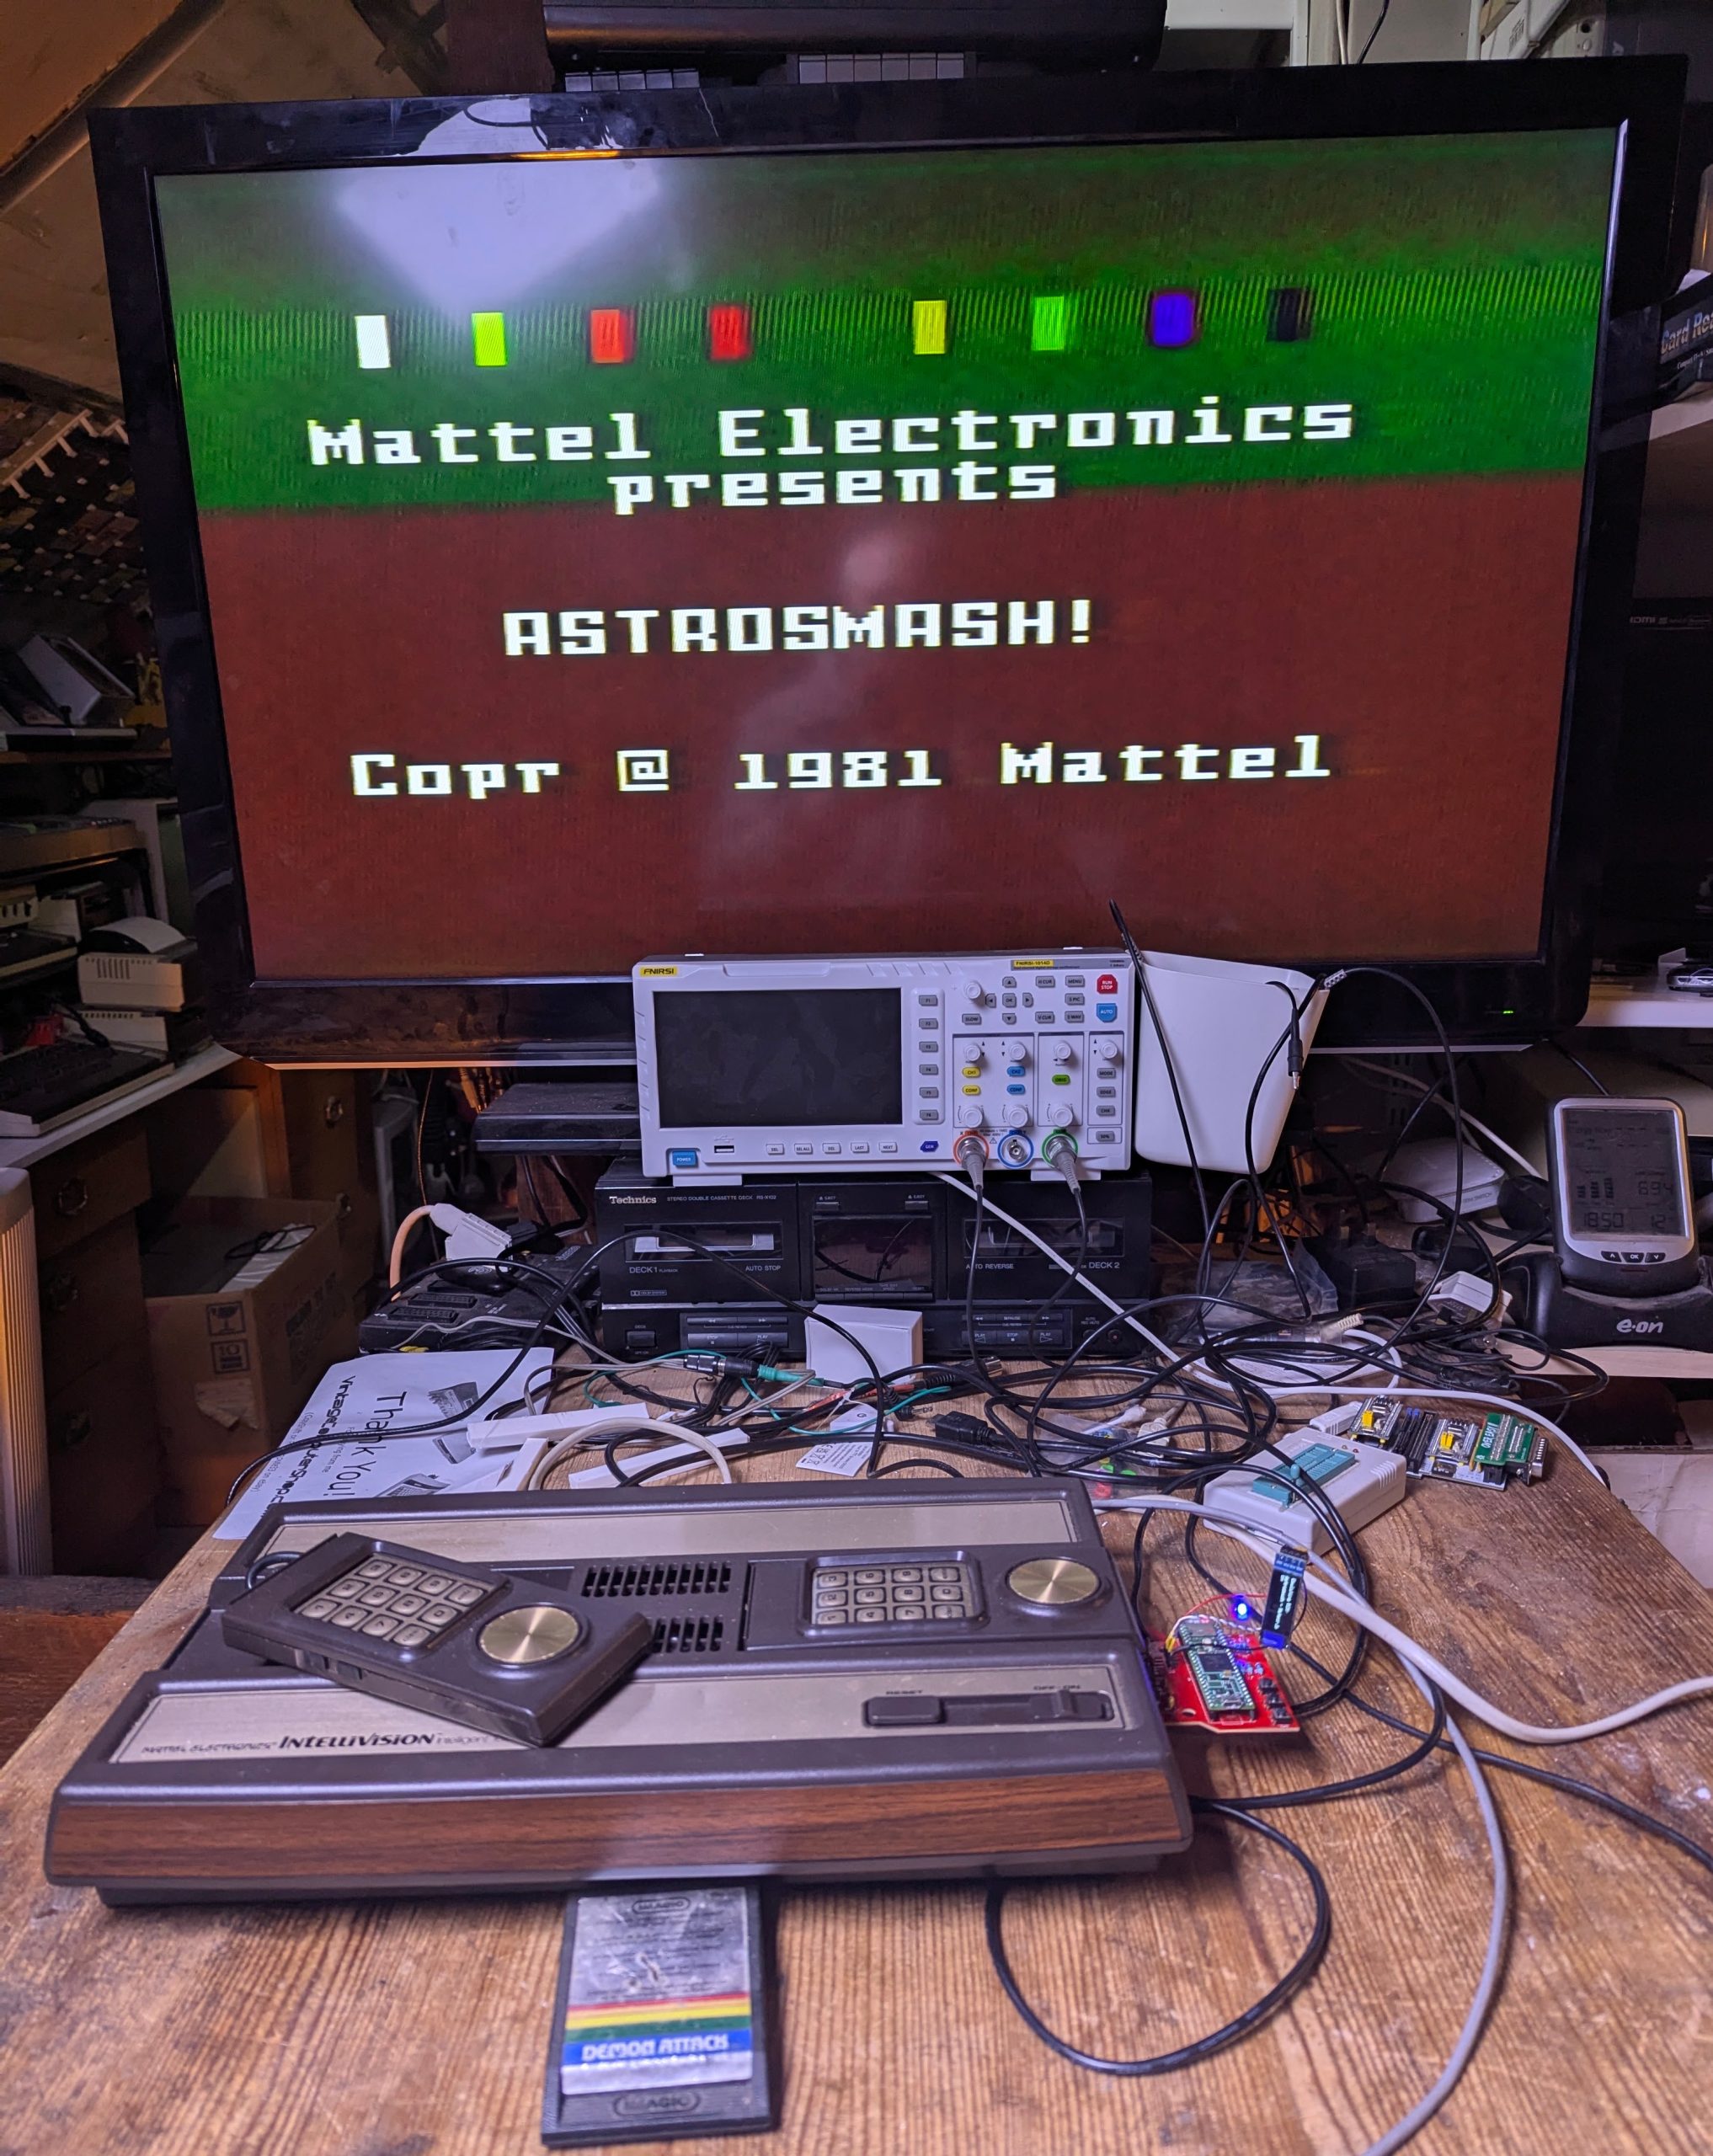
Thanks to Andrea Ottaviani for this project it works exactly as I wanted and has breathed life back into my Intellivision console and the retro community. Well done Andrea.
Next I would like to composite mod this intellivision as the RF output is terrible. Watch this space.
This project was sponsored by

Now to play some of these
Click here for Intellivision Video and Controller Upgrades